Deployment strategies
Minimal setup
One of the best PocketBase features is that it's completely portable. This means that it doesn't require any external dependency and could be deployed by just uploading the executable on your server.
Here is an example of starting a production HTTPS server (auto managed TLS with Let's Encrypt) on a clean Ubuntu 22.04 installation.
Consider the following app directory structure:
myapp/
    pb_migrations/
    pb_hooks/
    pocketbase
Upload the binary and anything else required by your application to your remote server, for example using rsync:
rsync -avz -e ssh /local/path/to/myapp root@YOUR_SERVER_IP:/root/pbStart a SSH session with your server:
ssh root@YOUR_SERVER_IPStart the executable (specifying a domain name will issue a Let's encrypt certificate for it)
[root@dev ~]$ /root/pb/pocketbase serve yourdomain.comNotice that in the above example we are logged in as root which allows us to bind to the privileged 80 and 443 ports.
For non-root users usually you'll need special privileges to be able to do that. You have several options depending on your OS -authbind,setcap,iptables,sysctl, etc. Here is an example usingsetcap:[myuser@dev ~]$ sudo setcap 'cap_net_bind_service=+ep' /root/pb/pocketbase(Optional) Systemd service
You can skip step 3 and create a Systemd service to allow your application to start/restart on its own.
Here is an example service file (usually created in/lib/systemd/system/pocketbase.service):[Unit] Description = pocketbase [Service] Type = simple User = root Group = root LimitNOFILE = 4096 Restart = always RestartSec = 5s StandardOutput = append:/root/pb/std.log StandardError = append:/root/pb/std.log WorkingDirectory = /root/pb ExecStart = /root/pb/pocketbase serve yourdomain.com [Install] WantedBy = multi-user.targetAfter that we just have to enable it and start the service using
systemctl:[root@dev ~]$ systemctl enable pocketbase.service [root@dev ~]$ systemctl start pocketbaseYou can find a link to the Web UI installer in the
/root/pb/std.log, but alternatively you can also create the first superuser explicitly via thesuperuserPocketBase command:[root@dev ~]$ /root/pb/pocketbase superuser create EMAIL PASS
Using reverse proxy
If you plan on hosting multiple applications on a single server or need finer network controls, you can
always put PocketBase behind a reverse proxy such as
NGINX, Apache, Caddy, etc.
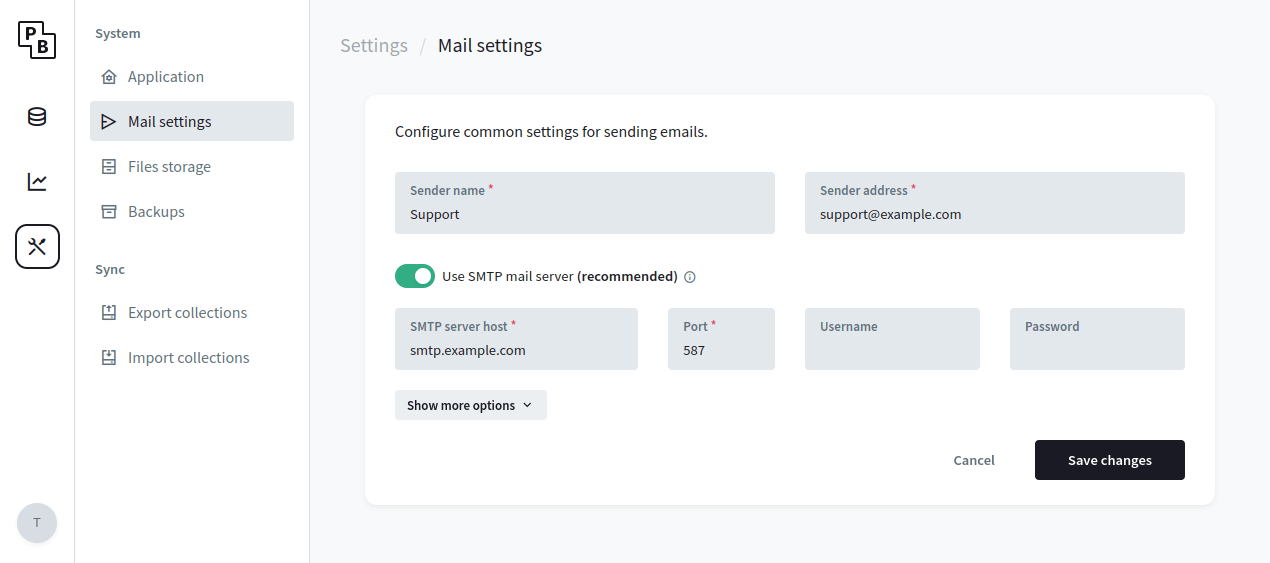
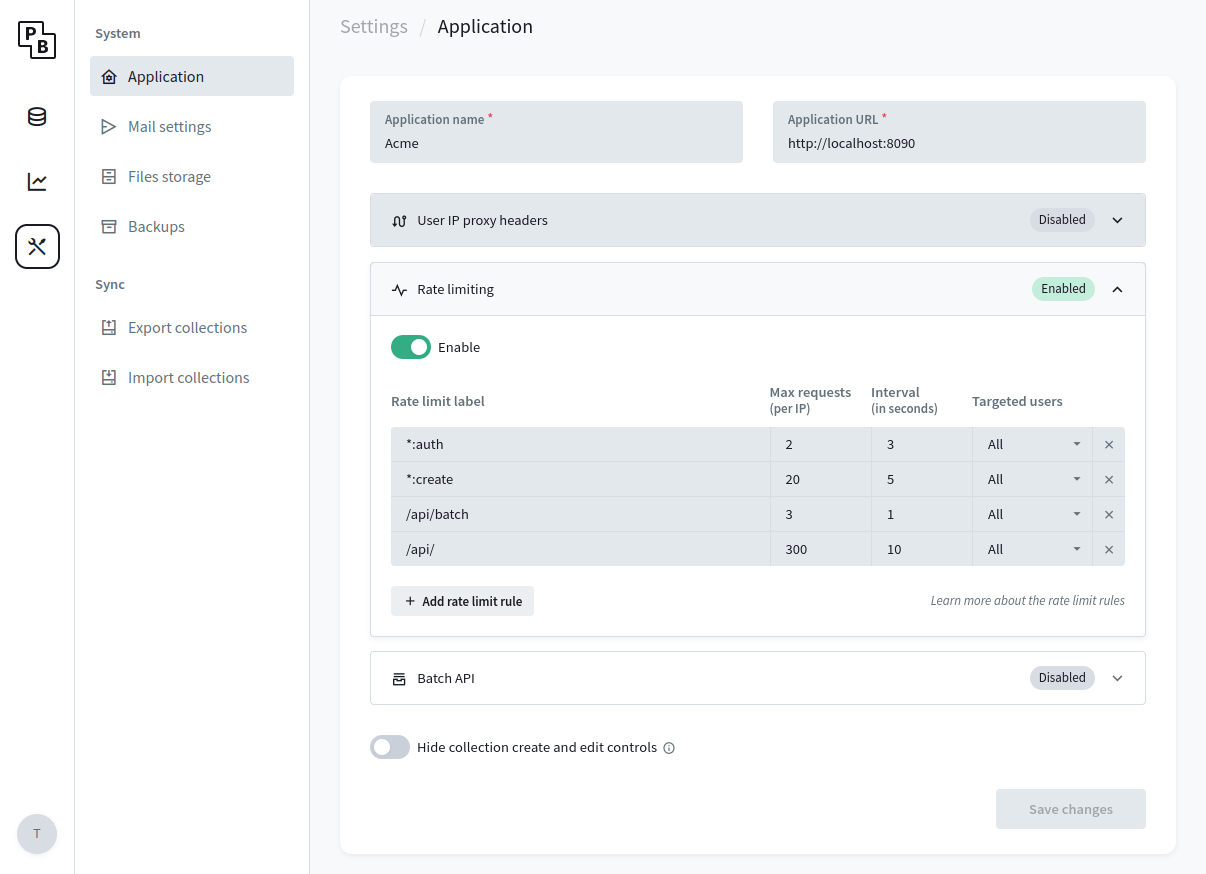
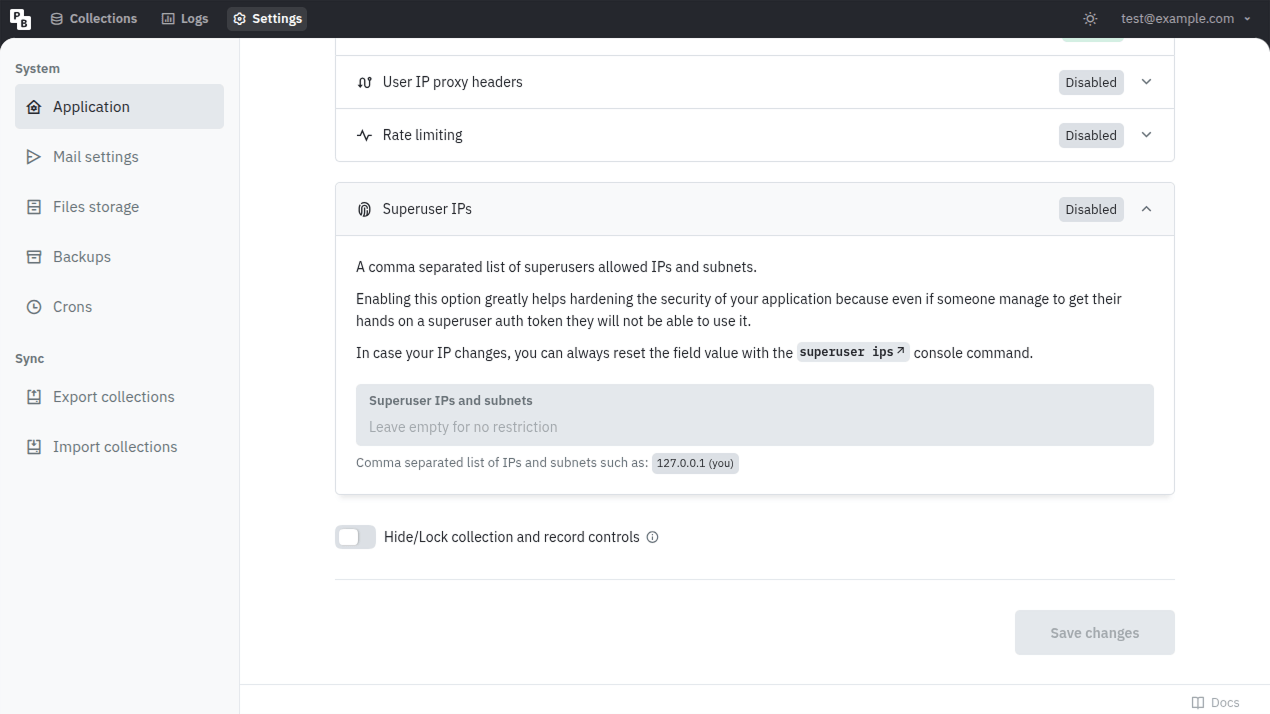
Just note that when using a reverse proxy you may need to set up the "User IP proxy headers" in the
PocketBase settings so that the application can extract and log the actual visitor/client IP (the
headers are usually X-Real-IP, X-Forwarded-For).
Here is a minimal NGINX example configuration:
server {
    listen 80;
    server_name example.com;
    client_max_body_size 10M;

    location / {
        # check http://nginx.org/en/docs/http/ngx_http_upstream_module.html#keepalive
        proxy_set_header Connection '';
        proxy_http_version 1.1;
        proxy_read_timeout 360s;

        proxy_set_header Host $host;
        proxy_set_header X-Real-IP $remote_addr;
        proxy_set_header X-Forwarded-For $proxy_add_x_forwarded_for;
        proxy_set_header X-Forwarded-Proto $scheme;

        # enable if you are serving under a subpath location
        #
        # note that it is better to use a subdomain when possible because of
        # the same-origin isolation for localStorage and other resources
        # rewrite /yourSubpath/(.*) /$1  break;

        proxy_pass http://127.0.0.1:8090;
    }
}
Corresponding Caddy configuration is:
example.com {
    request_body {
        max_size 10MB
    }
    reverse_proxy 127.0.0.1:8090 {
        transport http {
            read_timeout 360s
        }
    }
}
Using Docker
Some hosts (e.g. fly.io) use Docker for deployments. PocketBase doesn't have an official Docker image, but you could use the below minimal Dockerfile as an example:
FROM alpine:latest

ARG PB_VERSION=0.40.5

RUN apk add --no-cache \
    unzip \
    ca-certificates

# download and unzip PocketBase
ADD https://github.com/pocketbase/pocketbase/releases/download/v${PB_VERSION}/pocketbase_${PB_VERSION}_linux_amd64.zip /tmp/pb.zip
RUN unzip /tmp/pb.zip -d /pb/

# uncomment to copy the local pb_migrations dir into the image
# COPY ./pb_migrations /pb/pb_migrations

# uncomment to copy the local pb_hooks dir into the image
# COPY ./pb_hooks /pb/pb_hooks

EXPOSE 8080

# start PocketBase
CMD ["/pb/pocketbase", "serve", "--http=0.0.0.0:8080"]
To persist your data you need to mount a volume at /pb/pb_data.
For a full example you could check the "Host for free on Fly.io" guide.
Backup and Restore
To backup/restore your application it is enough to manually copy/replace your pb_data
directory
(for transactional safety make sure that the application is not running).
To make things slightly easier, PocketBase v0.16+ comes with builtin backups and restore APIs that could be accessed from the Dashboard ( Settings > Backups ):
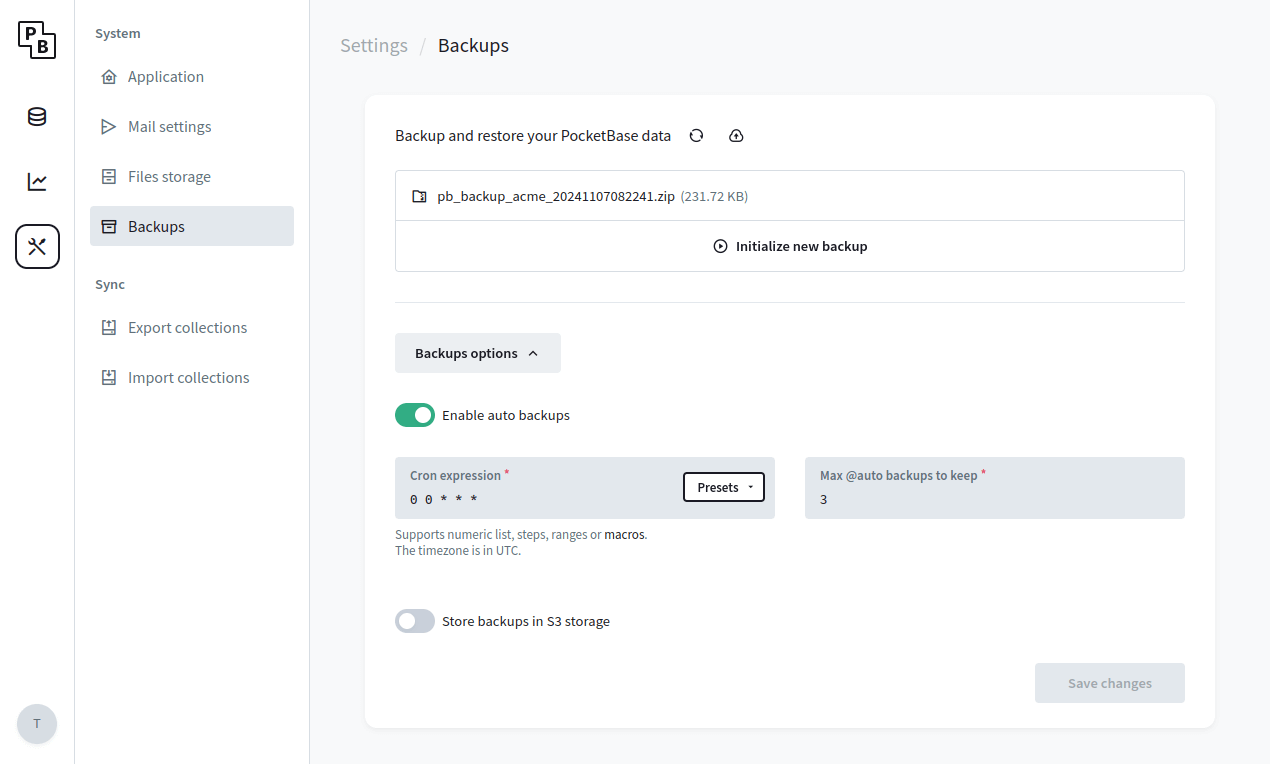
Backups can be stored locally (default) or in a S3 compatible storage (it is recommended to use a separate bucket only for the backups). The generated backup represents a full snapshot as ZIP archive of your pb_data directory (including
the locally stored uploaded files but excluding any local backups or files uploaded to S3).
Please note that during the backup the performance could be slightly degraded and some queries may take longer to complete than usual.
Depending on the size of your pb_data this could be a very slow operation and it is
advised in case of large pb_data (e.g. 5GB+) to consider a different backup strategy
(see an example
backup.sh script
that combines sqlite3 .backup + rsync)
.